
Create a Place
Loyalty allows you to create a new Place either by creating it from scratch, or by copying an existing Place to use as the basis of the new Place.
Note: You can also import Places using either the Standard Import or the Advanced Import feature.
Create a Place
To create a Place:
-
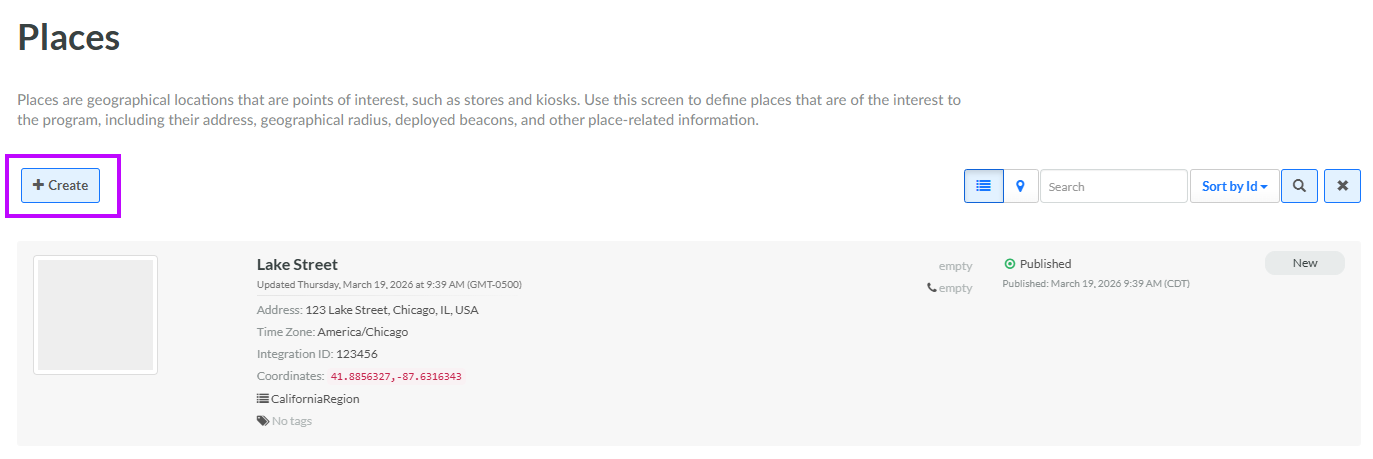
Select Admin from the top navigation bar, then select Locations > Places from the side navigation menu. The Places screen is displayed, with List View selected by default.
-
Click Create. The Add Place pop-up window is displayed.
-
In the Display Name field, enter a name for the new Place.
-
In the Address field, enter the street address for the new Place (or select it from the search results). The system refreshes the map within the pop-up window to show the selected street address.
-
Click Create. The Edit Place pop-up window is displayed.
-
The Display Name field is populated with the value you entered above; optionally edit this value.
-
The Internal Name is automatically populated based on the Display Name value. This field is not editable by default. To edit the Internal Name, check Edit Internal Name. A confirmation dialog box is displayed; click Ok. Edit the Internal Name value.
-
The Address field is populated with the value you entered above; optionally edit this value.
-
The Integration ID field is used for storing a client identifier for a location, such as a store number for example. Optionally, enter an identifier in this field.
-
The Extra Info field is used for entering additional Place fields (in JSON form). For example, you could save other information about a location, such as a store type, store manager's name, etc. Optionally, in the Extra Info field, enter the JSON code to define additional Place fields.
-
Location Categories are used to organize Places. Optionally, to assign this Place to one or more Location Categories, select them from the Categories drop-down menu.
-
Tags are used to help organize objects within the platform. Places can be searched by Tag from the Places screen. To reuse an existing Tag, begin typing all or part of the Tag name, and select it. You can also type in a new Tag value.
-
Click Save.
Copy a Place
To copy a Place:
-
Select Admin from the top navigation bar, then select Locations > Places from the side navigation menu. The Places screen is displayed, with List View selected by default.
-
Search for and select the desired Place ( see
-
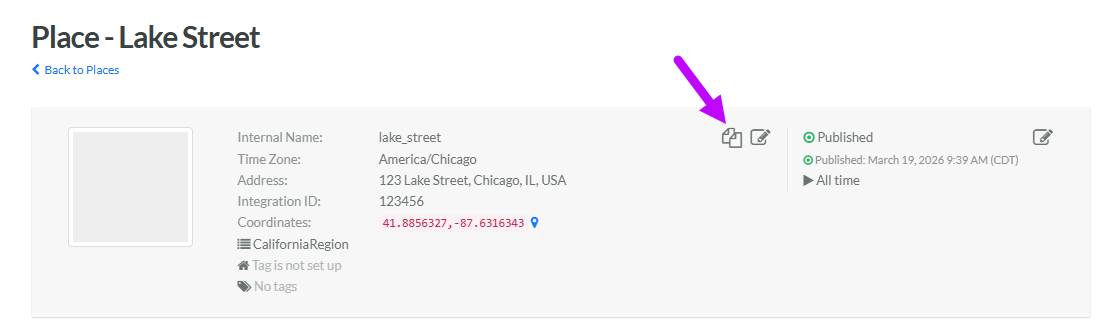
Within the header area of the screen, click the Copy icon.
-
The platform creates a copy of the Place, and the Place Details screen is displayed. The default name of the new Place is the name of the base Place followed by a counter, such as "(1)."
Additional Information
The process of configuring and deploying a new Place comprises the following steps. See the below Help Center articles for details:
